As we were getting the attic converted, I decided to take the opportunity to wire the house up for Cat5e and have Node Zero located in the attic.
Equipment:
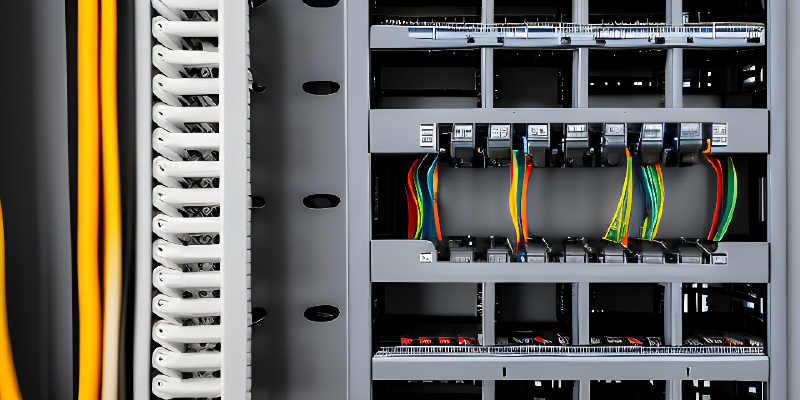
1 Data Cabinet (6u)
1 Patch Panel
1 Cable Organiser
1 Fanless Gigabit Router
1 Reel of Cat5e
Cat5e Euro modules
16 30cm patch cables
1 Cat5e Crimping Tool
1 Push Down Krone Tool
I picked up the data cabinet with patch panel and organiser on adverts.ie for €50. I decided to try and source a fanless router as the attic would also be used as a guest bedroom. I came across a HP V1410-16G 16 Port Gigabit Switch on misco.ie for €90 (plus €18 delivery) which was a heck of a lot cheaper than I could find elsewhere. Although it seems I may have gotten that as a misprice as its currently €148 (plus €18 delivery) which is similar to what it was on other website, happy days indeed ![]()
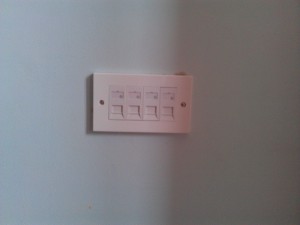
So the plan was to drop 4 Cat5e cables in each room. At most, probably only 2 would be used but it was just as easy to drop 4 instead and future proof the installation somewhat.
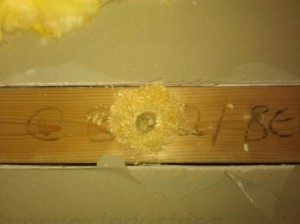
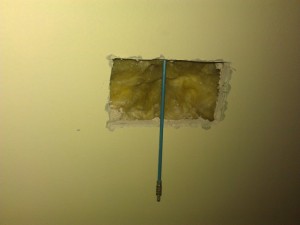
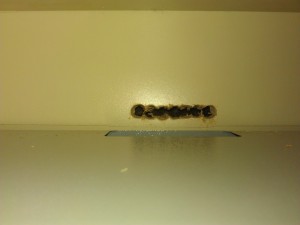
Having cut out a section of the dry wall using the lining box as a template, I borrowed some cable rods from a buddy which allowed the cables to be pulled through easily. Those cable rods are kinda expensive but they really are worth their weight in gold.. I’m so glad my buddy bought them! :)
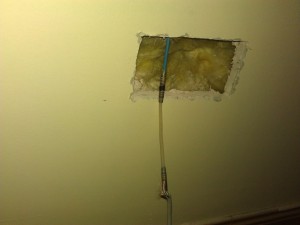
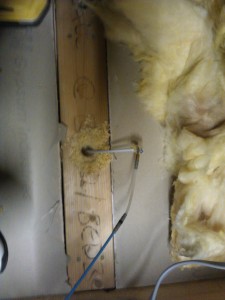
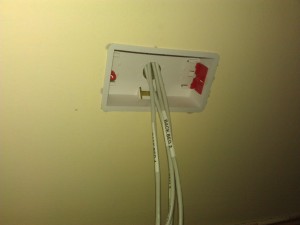
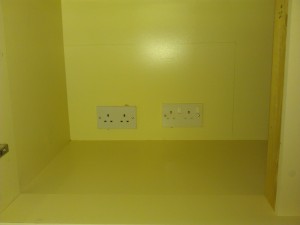
Rinse and repeat for the remaining 3 cables and then fit the dry lining box. Note the labelled cables to help with identification.
Each module was connected using the Krone tool, this is probably the most boring part of the whole project ![]()
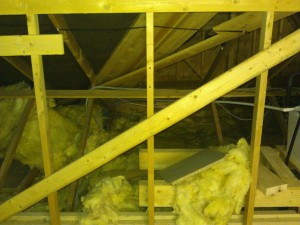
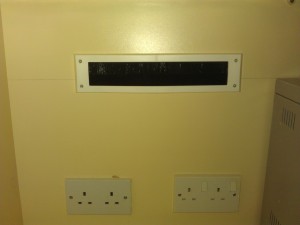
Here is the eventual location of where the cabinet will be and where Node Zero will be housed. You can see some of the cables already routed in the background.
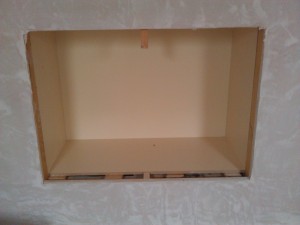
I was a little concerned about the amount of space there would be for opening the door of the data cabinet. It turned out that there was a couple of mm of a gap to spare.

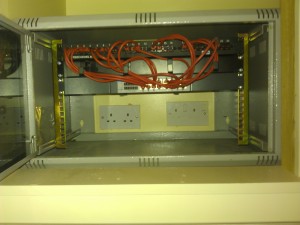
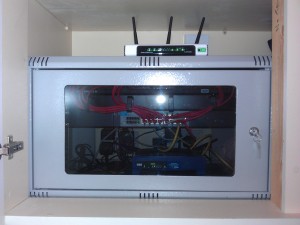
The box on top is a SamKnows white box which is used to gather reliable and accurate statistics as part of an EU wide study on broadband performance which I’m taking part in.
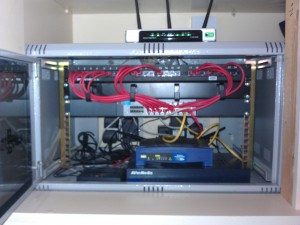
And that’s it! Its been a nice project to finally get done and have all the equipment neatly stored away and out from the reach of small hands! :)